Repairing a Tear on a Leather Jacket

May 17, 2023
Jane Smith, Managing Director
A Step-by-Step Guide To Fixing Tears.
Introduction:
Leather jackets are timeless fashion pieces that can add a touch of sophistication to any outfit. However, tears and damages can occur over time. Fortunately, many minor tears can be repaired at home with some basic tools and techniques. In this blog post, we will guide you through the process of repairing a tear on a leather jacket, helping you restore its original beauty.
Disclaimer:
Before attempting any repairs, keep in mind that more complex or extensive damages might require professional assistance. If you're uncertain or dealing with a valuable or sentimental item, it's always advisable to consult a leather repair specialist.
Materials Needed:
Leather repair kit
Leather adhesive
Leather patch or polycotton
Scissors
Sharp knife or Seam ripper
Leather filler
Sandpaper (fine-grit)
Soft cloth
Sewing needle
Sewing thread
Leather cleaner
Leather conditioner
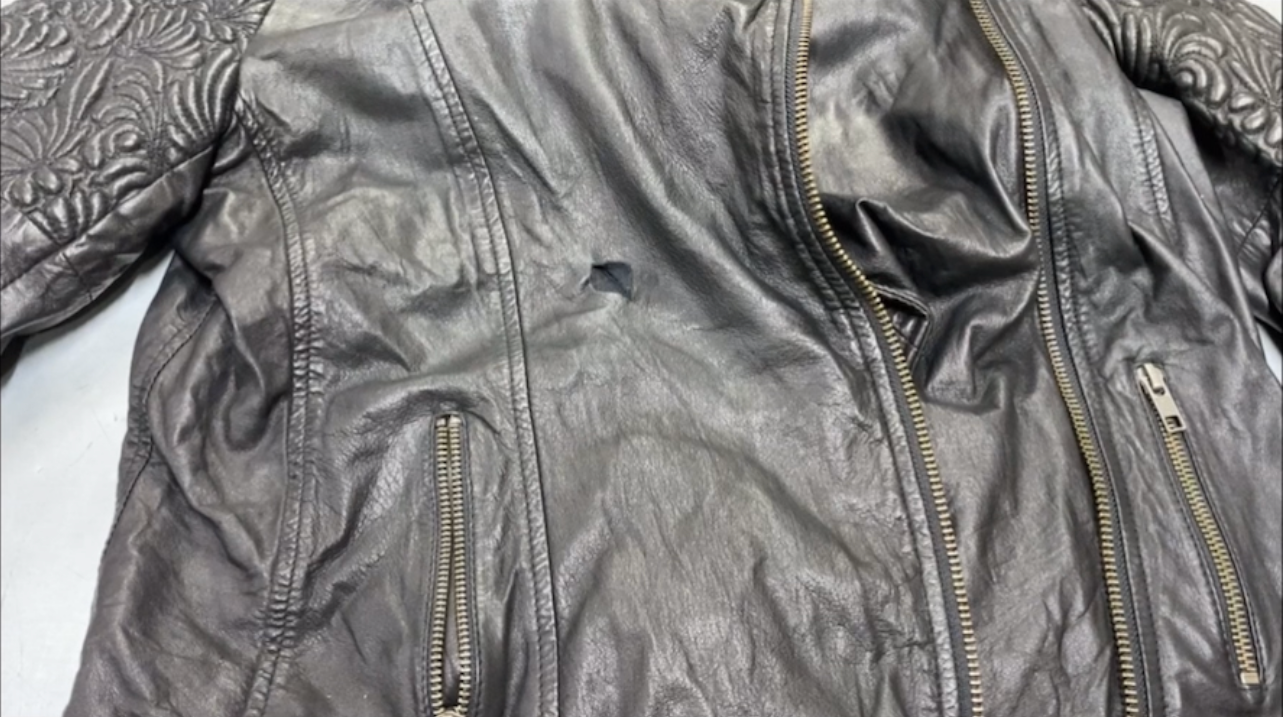
Step 1: Assess the Damage
Carefully examine the tear on your leather jacket to determine its size and severity. This assessment will help you decide on the appropriate repair method and materials needed.

Step 2: Clean the Area
Using a soft cloth, gently clean the area surrounding the tear to remove any dirt or debris. This ensures a clean surface for the repair process.
Step 3: Trim Loose Threads
If the tear has any loose threads, carefully trim them with a pair of scissors. Be cautious not to cut into the surrounding leather.
Step 4: Open The Jacket Up
To get into the tear its best to open up the lining material with a sharp knife or seam ripper, carefully unpick the arm section known as the escape route. Once you have access you can then get the tear repaired better and more quickly.

Step 5: Cutting Your Leather Patch
The next stage is getting the backing fabric cut, ready to put in place, you can either use thin gloving leather or polycotton. Make sure the backing fabric is cut enough to give plenty of excess, but not too much. The backing fabric has to be rounded off as corners can cause complications when being inserted. Make sure you insert the backing fabric suede side up if using leather. This link will help you with the fixing the leather jacket tear.


Step 6: Apply Leather Adhesive
Using a small applicator included in the leather repair kit, apply a thin layer of leather adhesive to the edges of the tear and the back of the tear. Make sure to follow the instructions provided with the adhesive regarding drying time and application technique.

Step 5: Press the Tear Together
Gently press the edges of the tear together using toothpicks to seal them. Hold them in place for a few minutes to allow the adhesive to bond the leather.

Step 6: Fill and Sand (For Small Tears)
If the tear has left a gap or hole, you can use leather filler. Apply the filler using a spatula or a toothpick, following the products instructions. Once dry, use fine-grit sandpaper to smooth the filled area, applying the leather paint blending it with the surrounding leather.
Step 8: Condition the Jacket
After the repair is complete, apply a leather conditioner to the entire jacket. This helps restore moisture, flexibility, and a uniform appearance to the leather.
Conclusion:
Repairing a tear on a leather jacket is a rewarding DIY project that can extend the life of your beloved garment. By following these steps and using the right materials, you can successfully mend minor tears and restore the jacket's original look. Remember to exercise caution and seek professional help for extensive damages or valuable items. Enjoy wearing your leather jacket for many more seasons to come!

Why Not Contact Us?
Call on: 01482 606864
Email us at: help@leatherrepaircompany.com