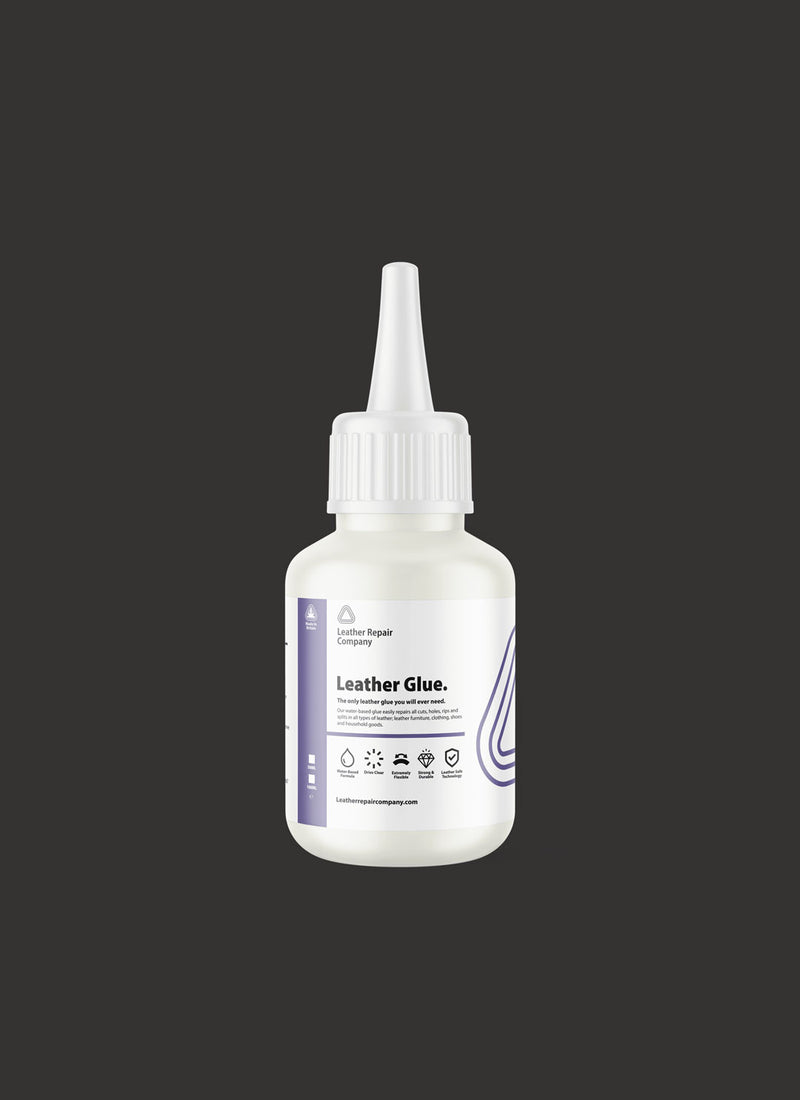
Leather Glue Repair Kit LRCK6
The best glue for Leather, Our smallest kit with one of the biggest results.
Our customers love how easy this product is to use, it comes packed with everything you need to repair cuts, holes, tears, rips, and all other surface damage to your leather. With its clear drying properties and extra strength adhesion you won't ever need to use another leather glue again.
Our kit also includes an accessory pack that equips you with all the tools needed to use our products safely.
FOR LEATHER SUITES, VEHICLES, CLOTHING, SHOES, AND ITEMS AROUND THE HOME. Also works perfectly on Aniline Leather